The Lovely Lotus block with light and dark backgrounds
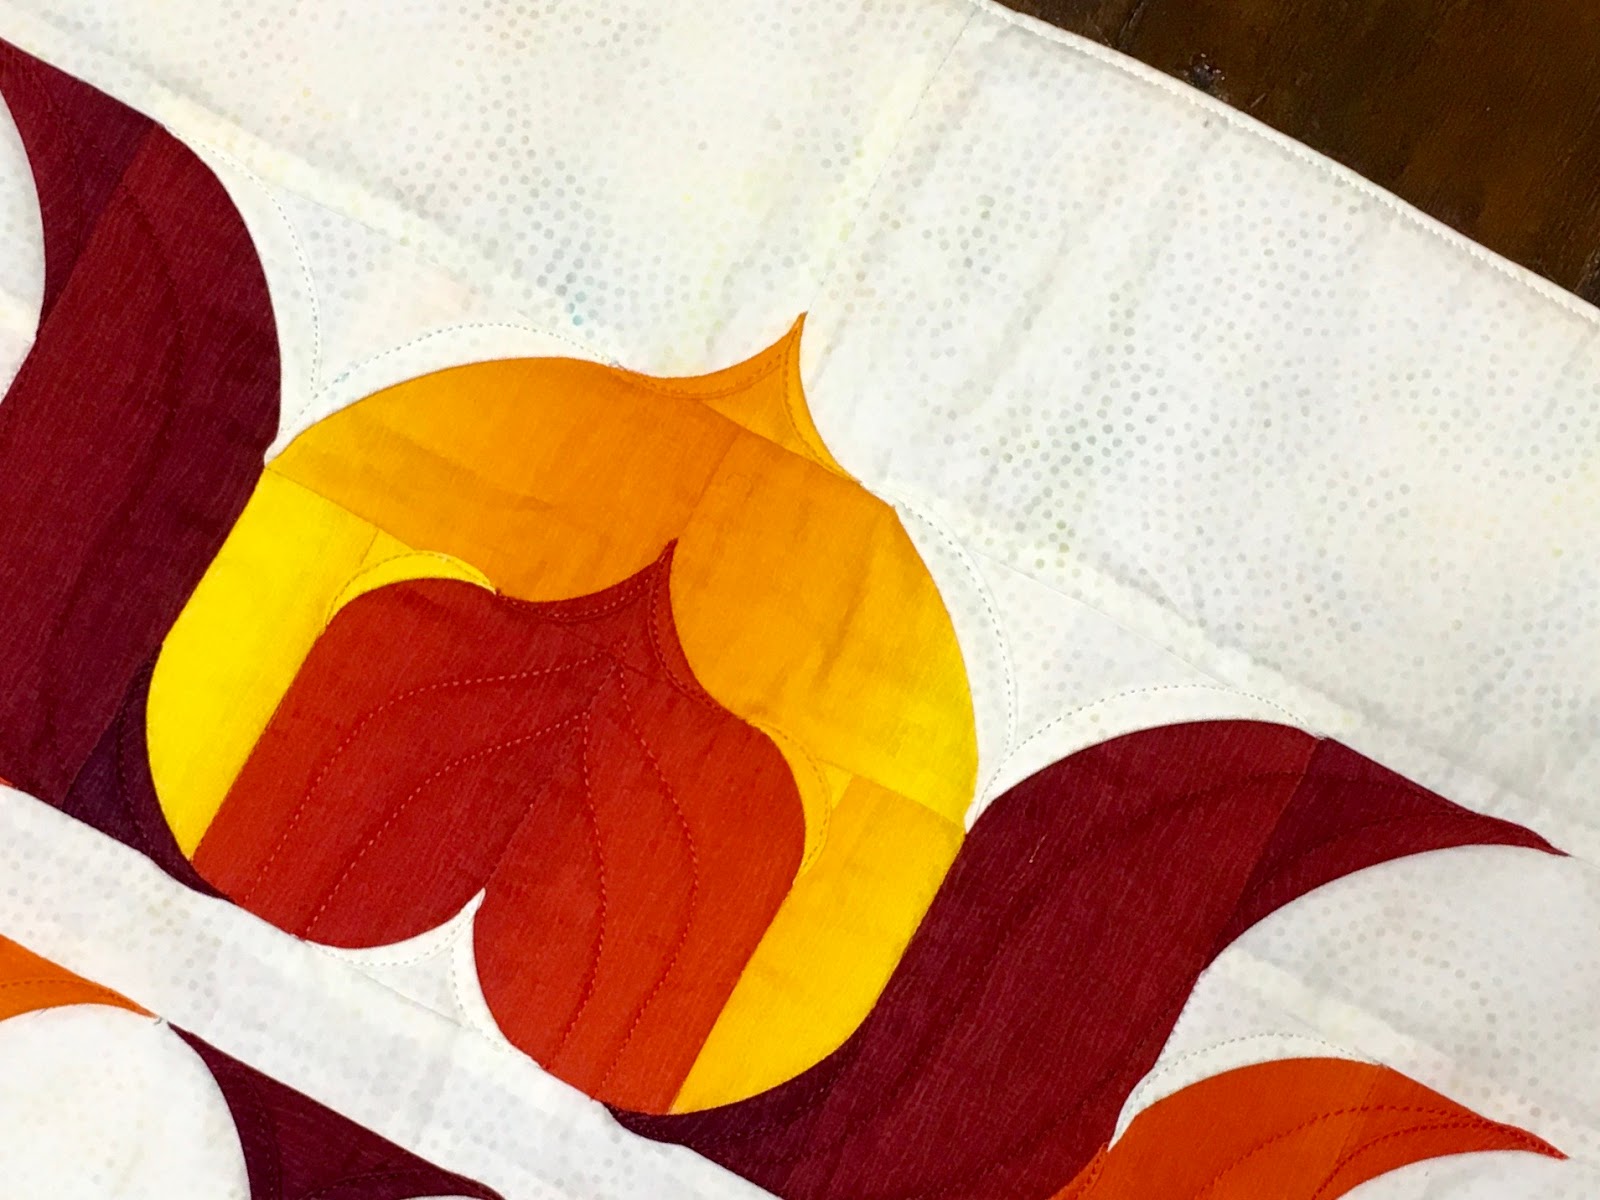

Initially, when I created this lotus designs, I started out using separate light, medium and dark fabrics, however, once I saw these vibrant gelato fabrics I wanted to find a way to use them in my design. Each lotus blossom is made from just one of these gelato ombre fabrics, using the variation within each fabric as the light, medium or dark part of the flower.(The original light, medium and dark option will also be described in the pattern).
Ombre fabrics are not all the same and the technique I developed for my new lotus quilt works best with gelato ombre where the color changes from dark at the selvages to light in the center and back to dark at the other selvages.
You can combine these vibrant ombre fabrics with both dark and light background fabrics.

* A little more information about the Ombre fabrics I used:
There are two kinds of gelato ombre fabrics:
- Fabric 1 - the value of one main color changes from dark to light to dark.
- Fabric 2 - not only does the value change, but the color changes as well.
To make all the petals from just one strip of the ombre fabric I first cut a strip, which was folded in half. Next I cross cut that strip,cutting from the dark to the light side. As a result the colors flow together and look almost like a color wash.
I also found it very helpful to have some small design boards next to my cutting area. There are so many uses for these nifty boards. I placed all the cut fabrics on the first one, then used the second board to build or grow my lotus block, laying out pieces and sections. This is also a great way to transport your block to the ironing board without loosing any pieces.

To make your own No Fuss Design Board you need:
- Foam-core board: Cut a 20" x 30" board in half - the perfect size for these boards.
- Adhesive spray: 505 spray works well without too much overspray
- Left over batting: Use a dense, white batting. I know you have some left over.
- Duct tape - yup! duct tape to the rescue.
Spray the board on one side, cover with batting, cut batting to the same size of the board. Use the duct tape to cover and tape around the edges. - Voila - your design board is finished!
Comments
Post a Comment